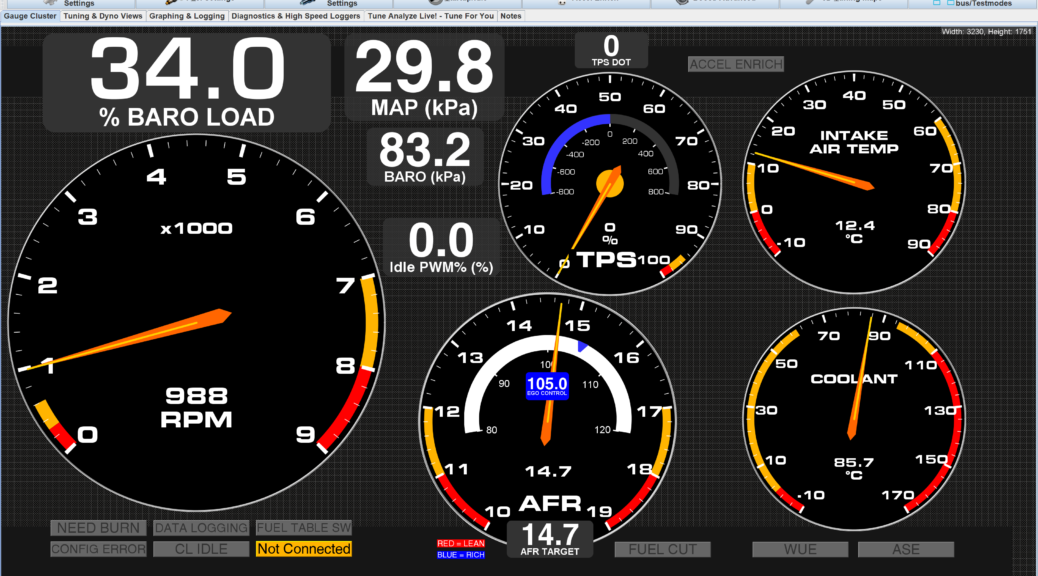
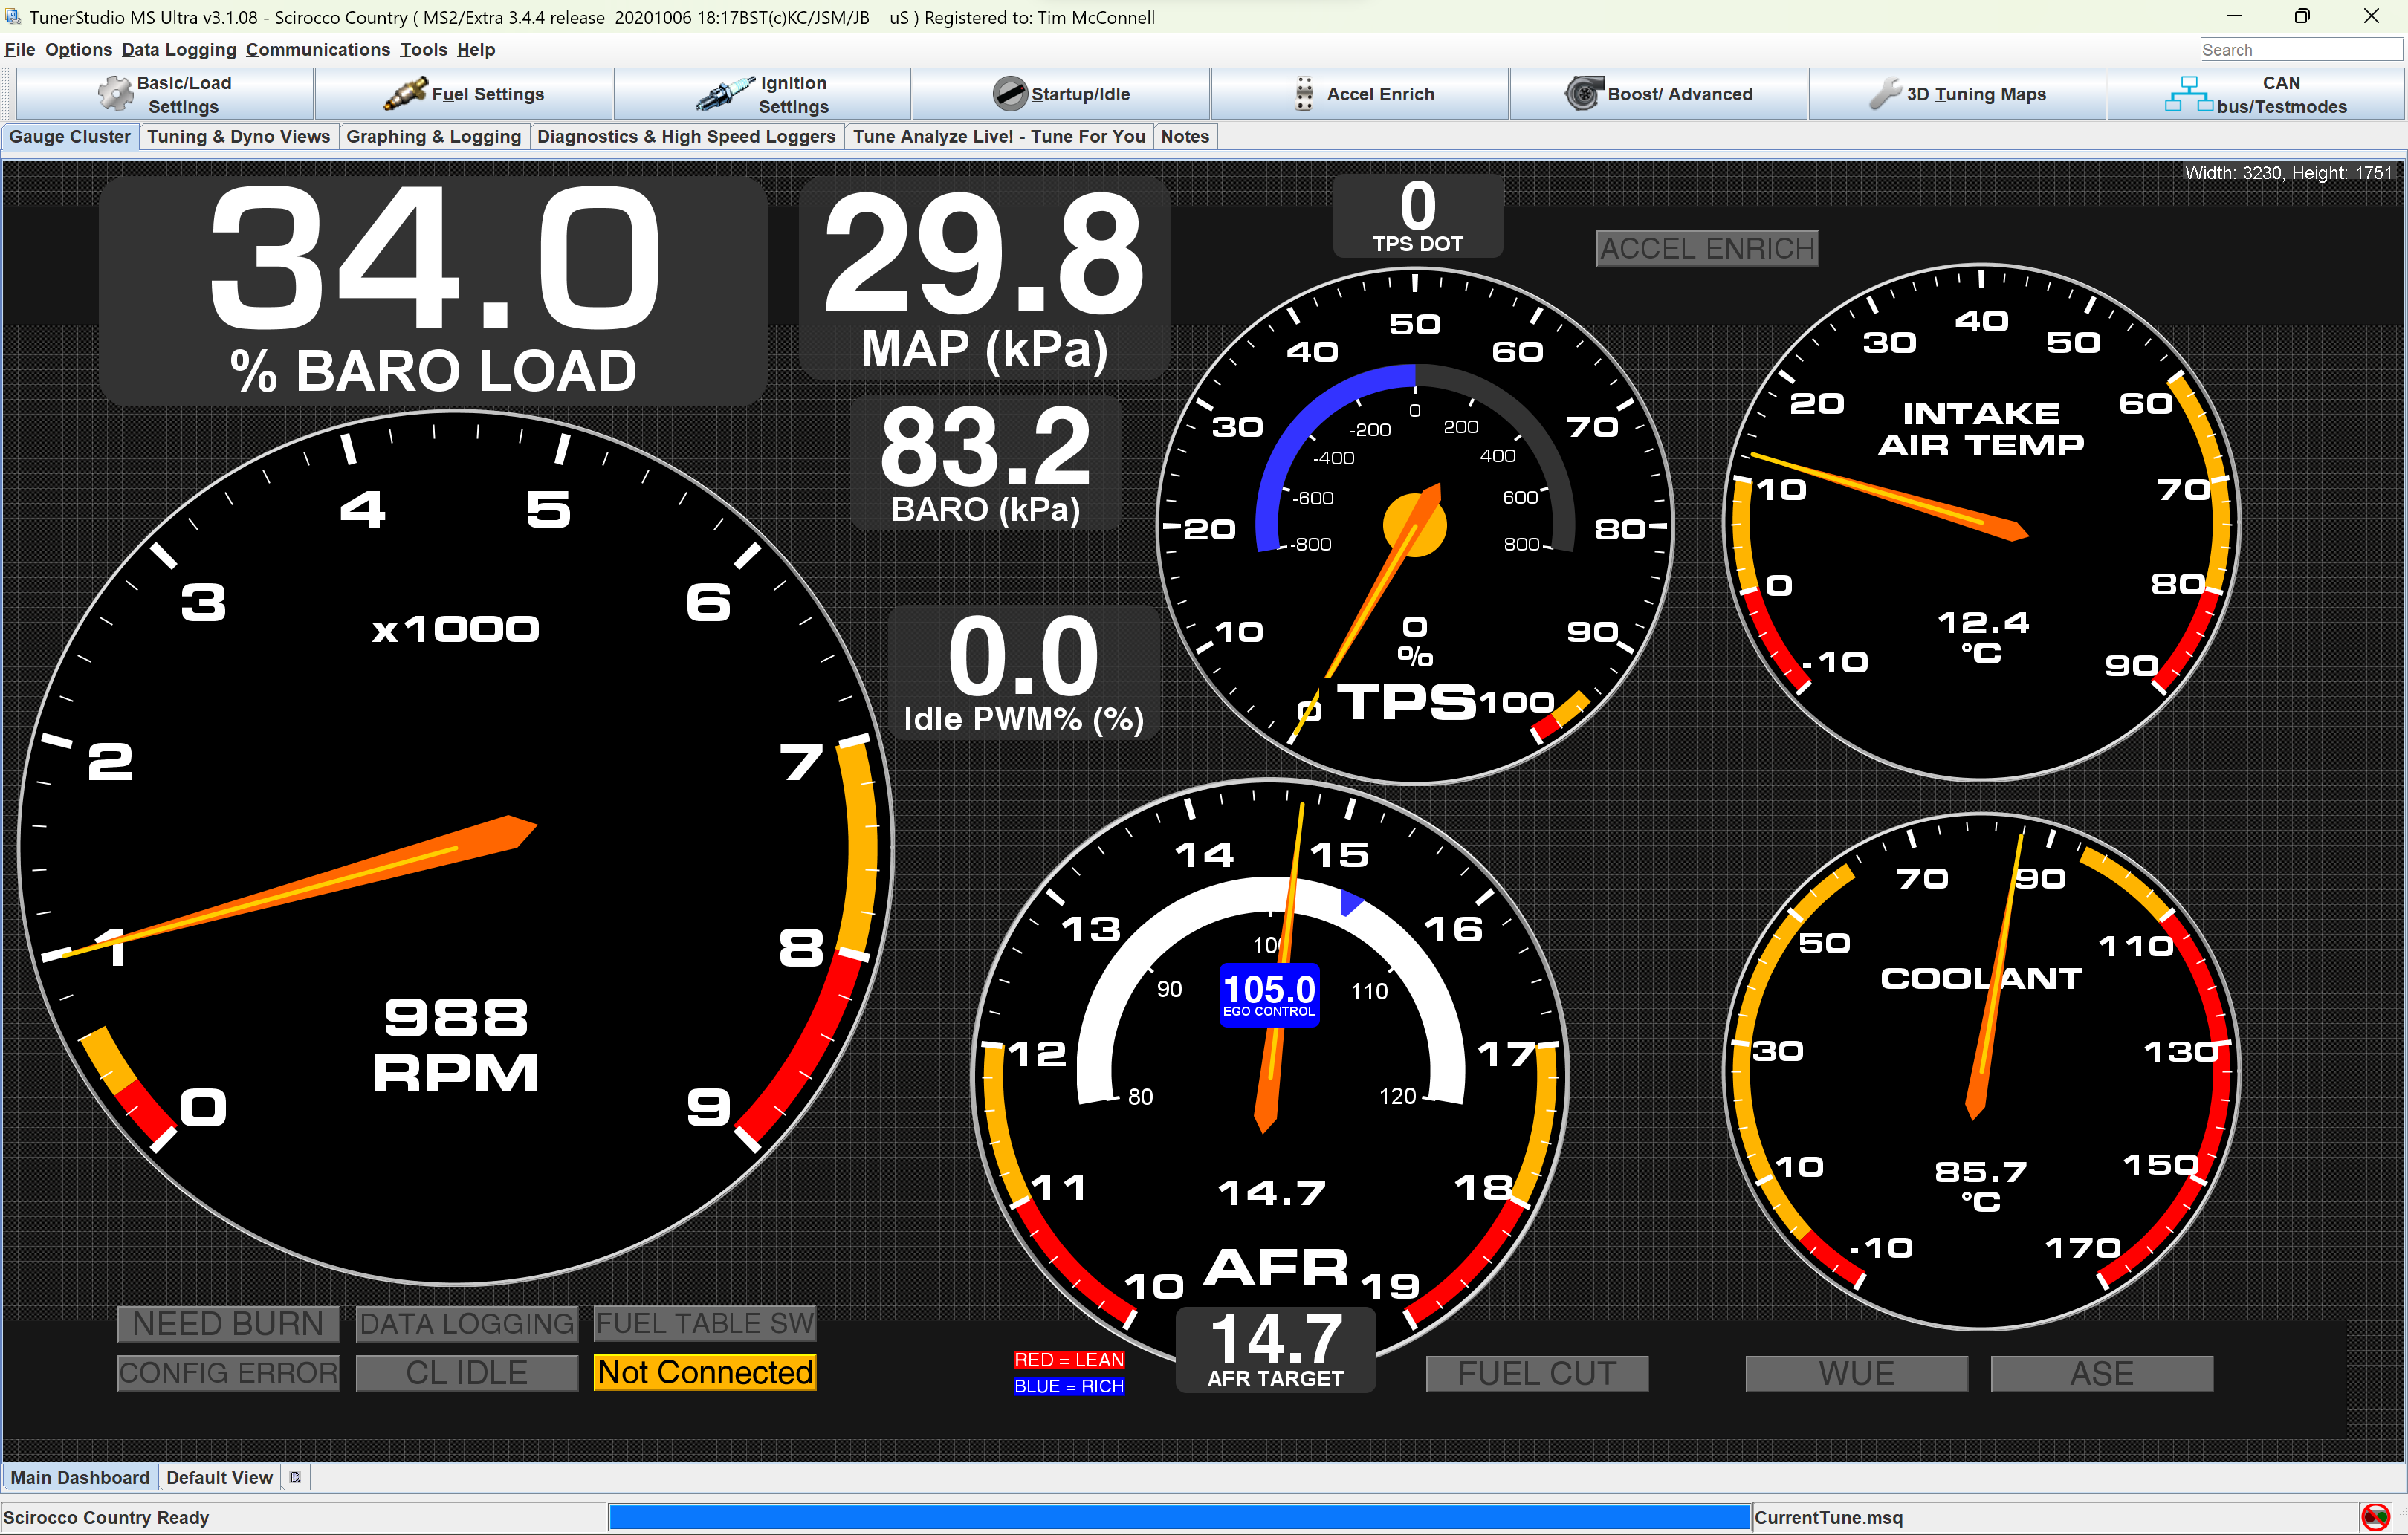
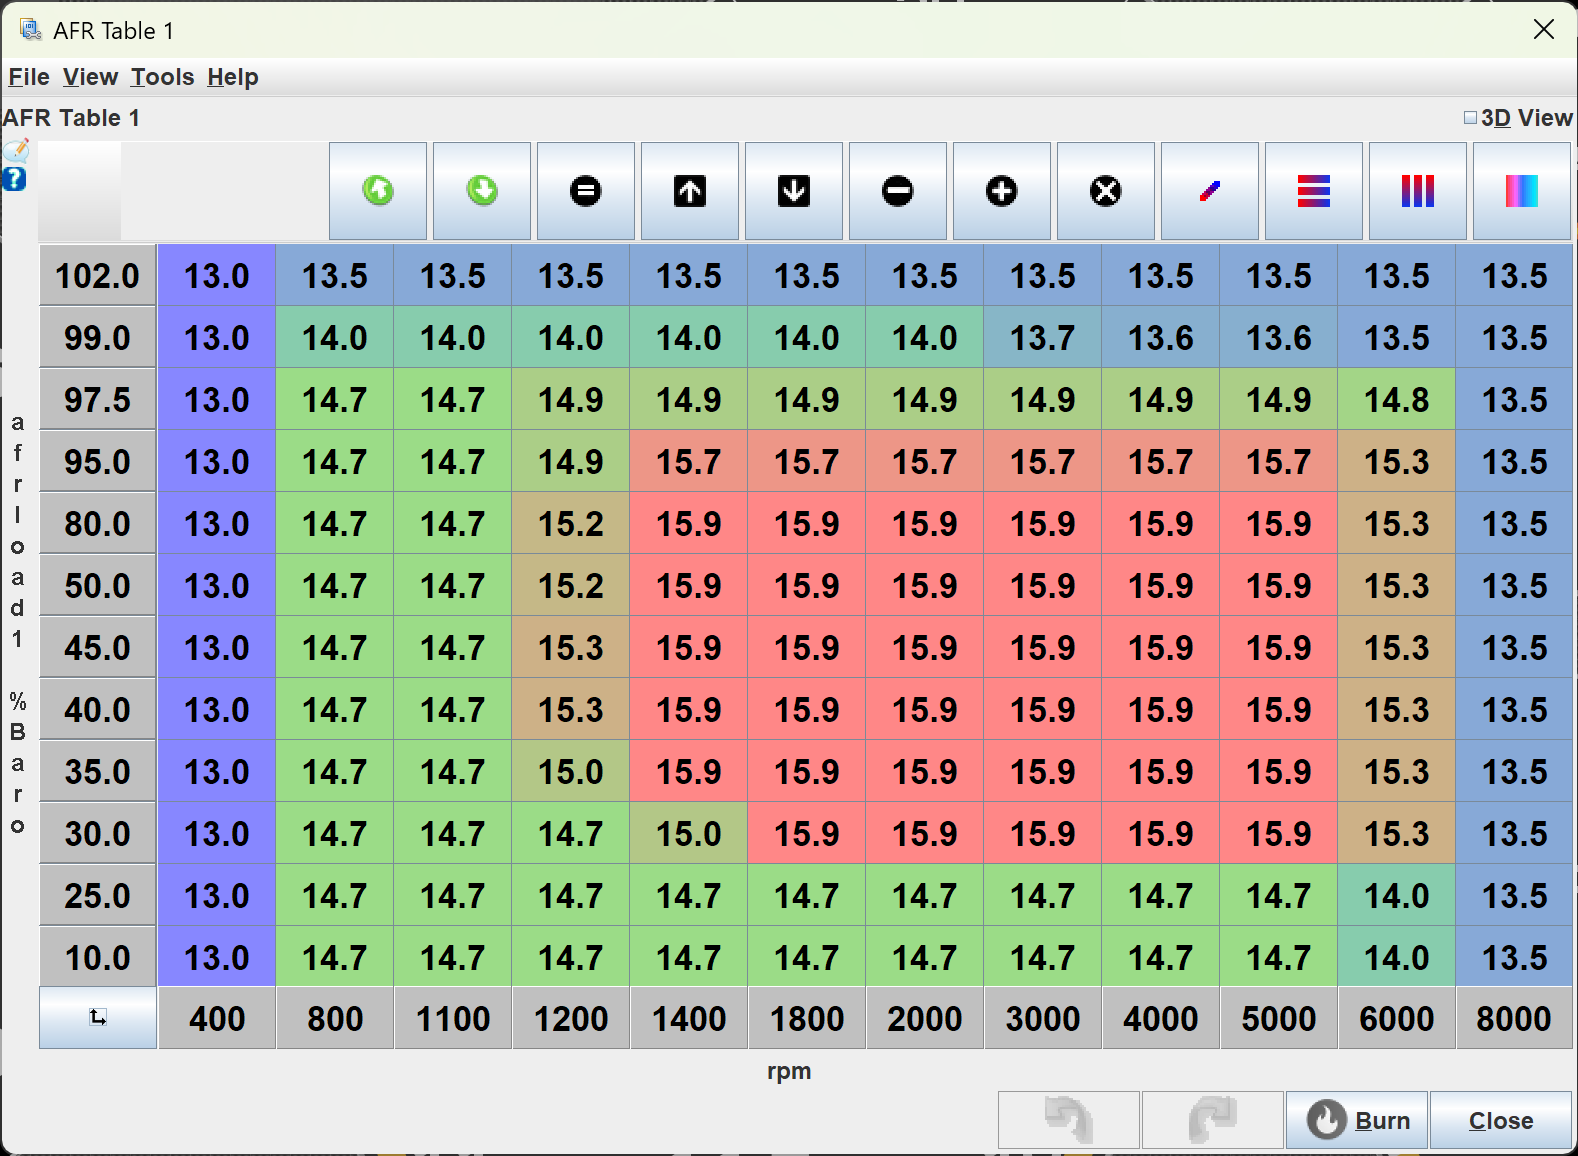
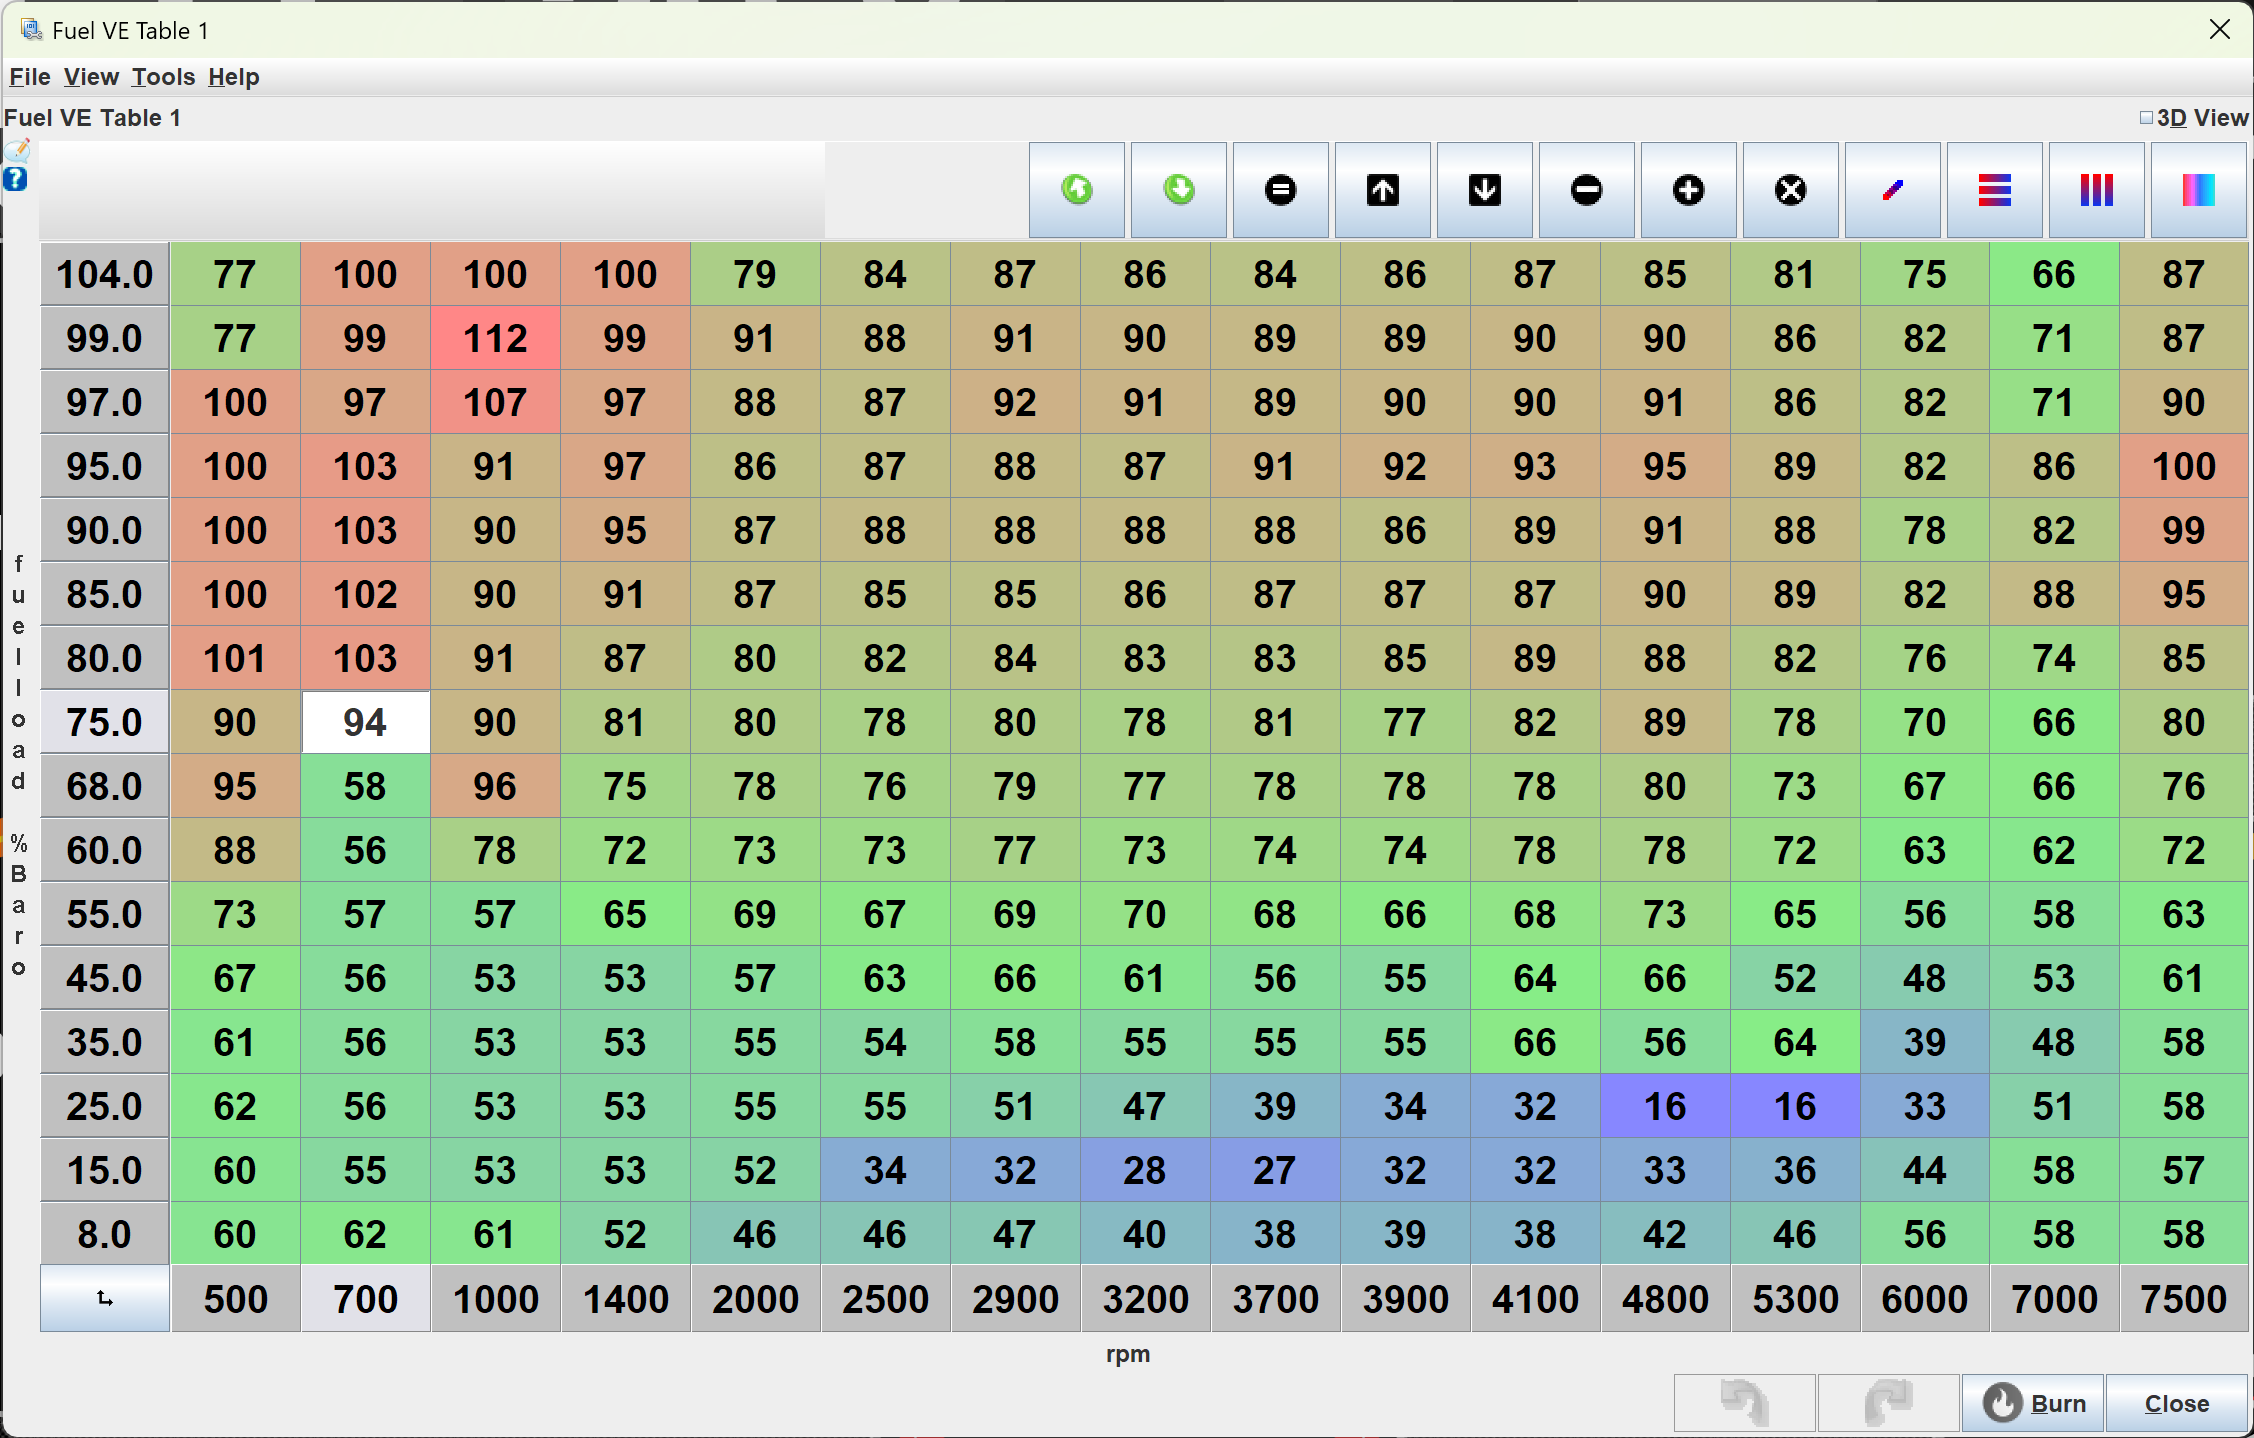
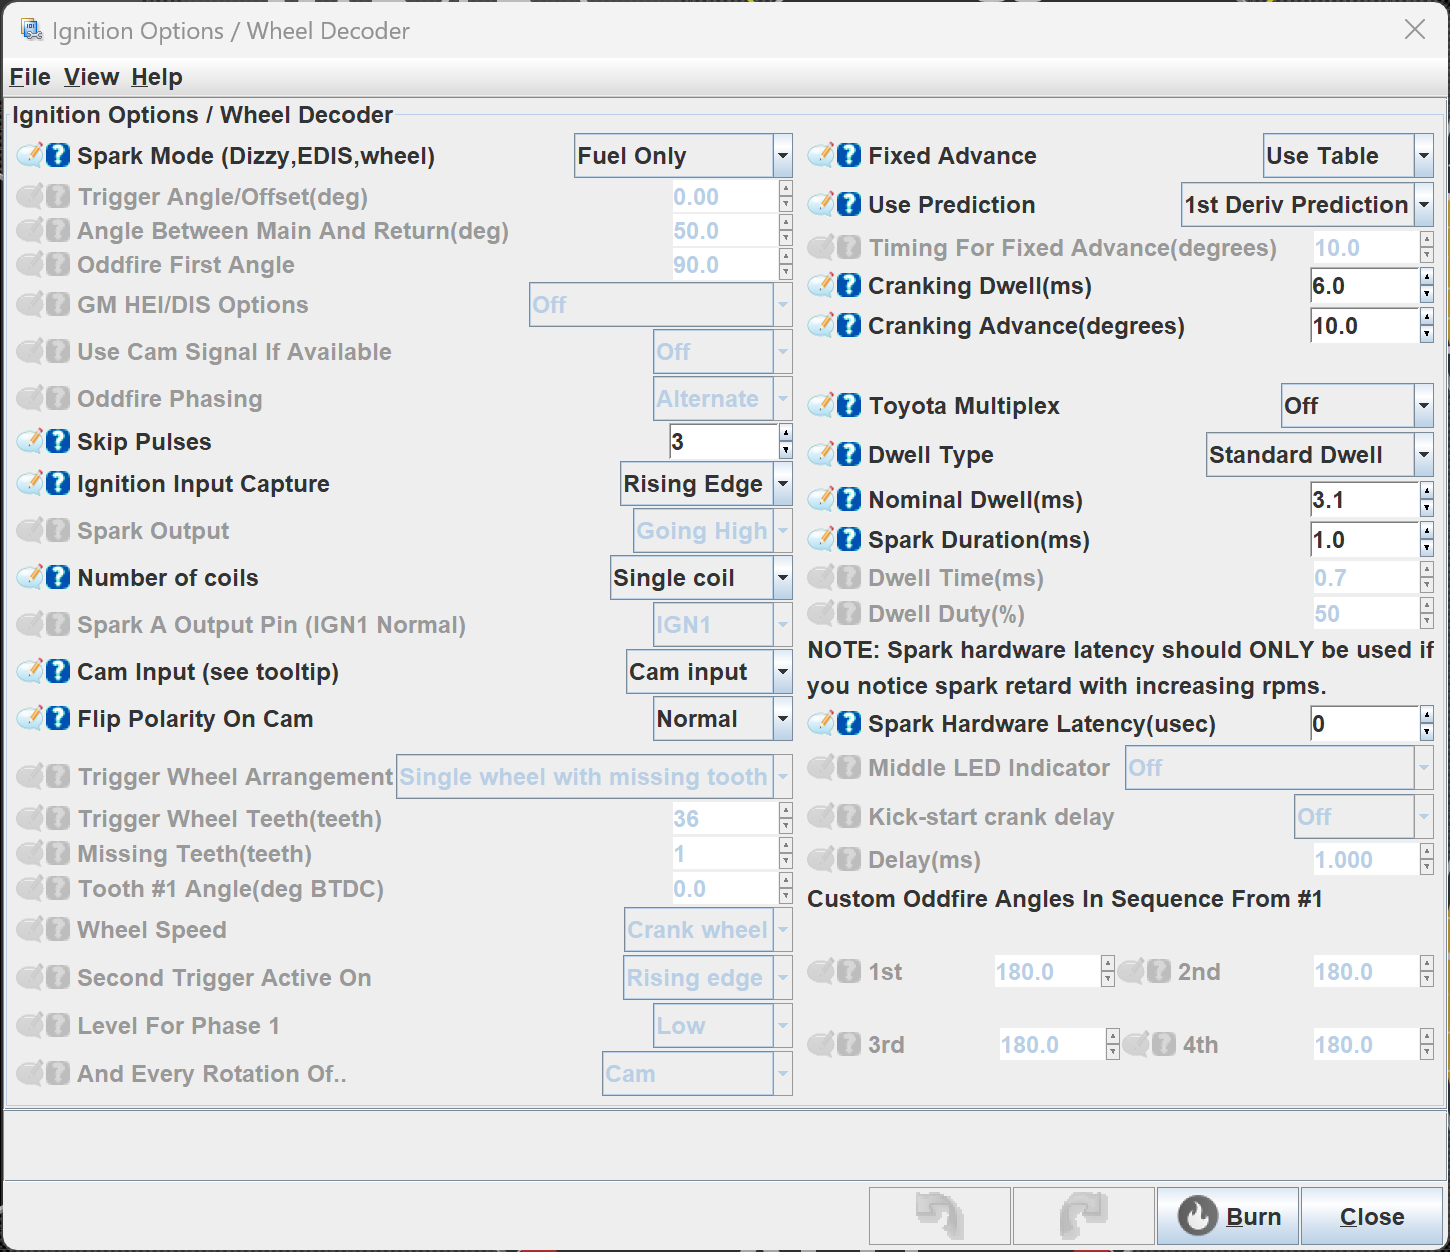
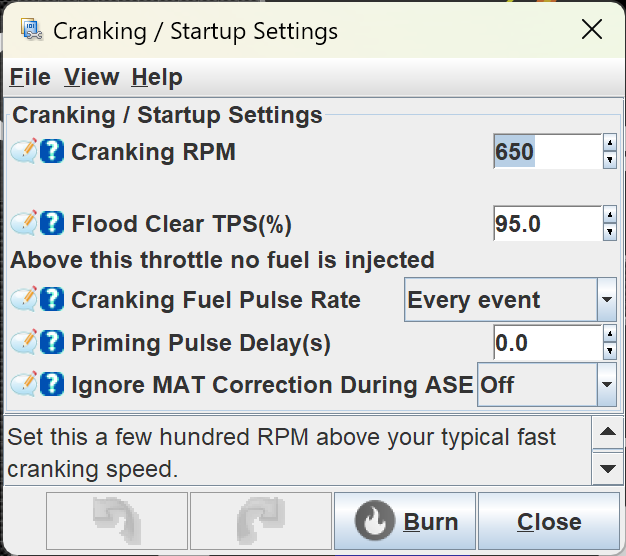
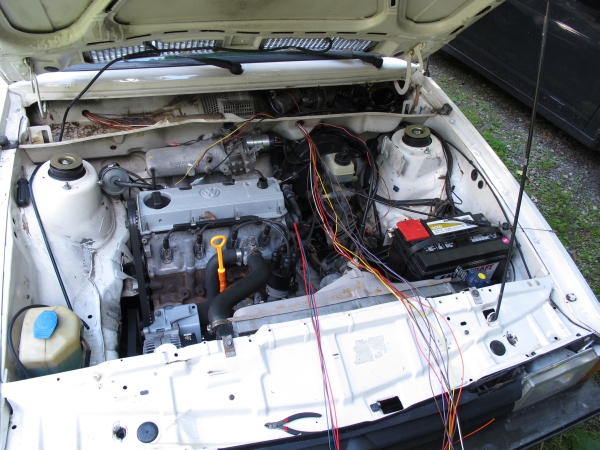
I’ve reached the point of a pretty good running car. This configuration is for my car as it is today, December 3rd, 2023. It’s got a 1.8L 8v JH engine, Cabriolet Digifant intake manifold, Corrado G60 injectors, Passat 16v throttle body with TPS, and a knock-sensing ignition system from a 1985 GTI. This is a fuel-only install, and the RPM signal is coming from the knock computer.
This post describes how to wire your engine with the 20awg wire for Megasquirt’s wiring harness!
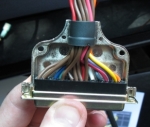
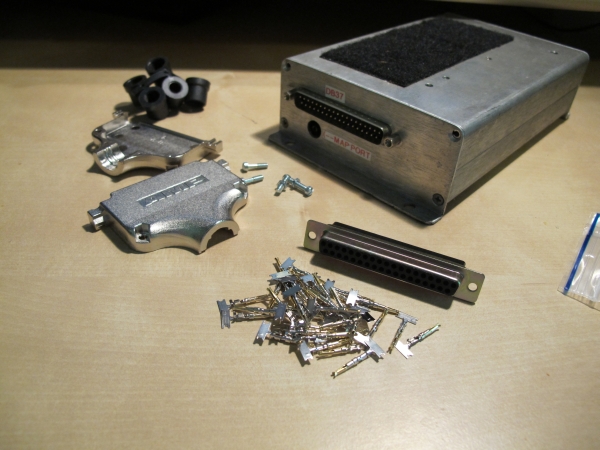
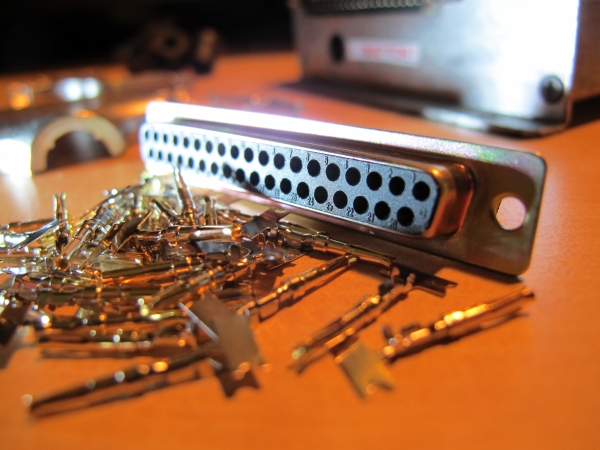
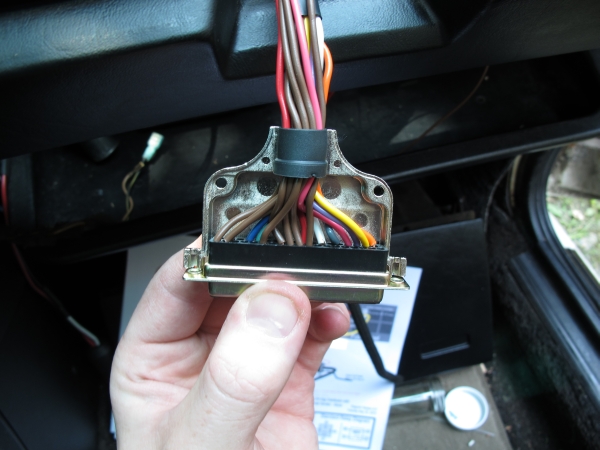
Here’s a DB-37 connector with crimp connector pins. Most megasquirt kits come with solder cup connectors WHICH ARE BAD because soldered wires = stiff corroding wires.
I ordered this connector from Newark – an electronic parts supplier. Here’s a link to part number 79K4779 – The manufacturer’s part number is SPC15175
This picture shows you the pin numbers.
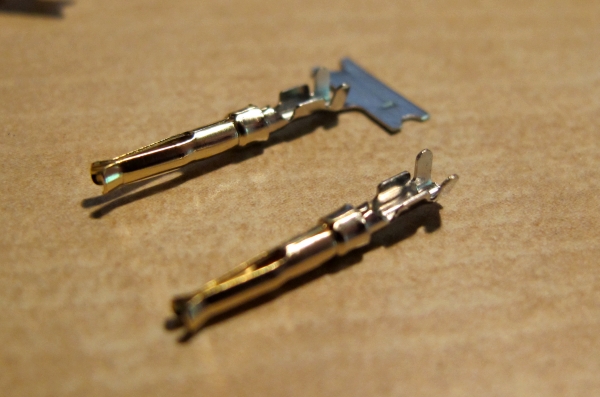
The pins come with the mass production thingy still attached. Just break it off.
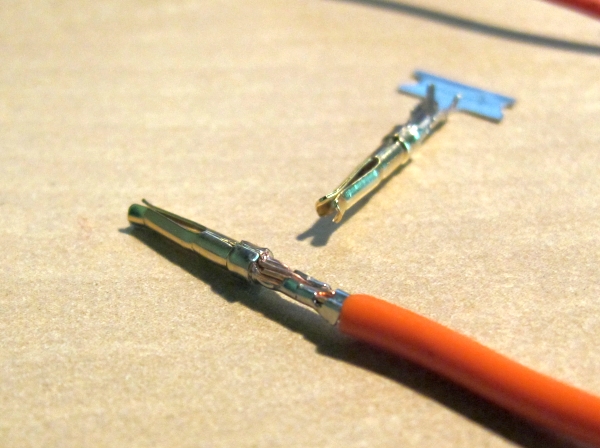
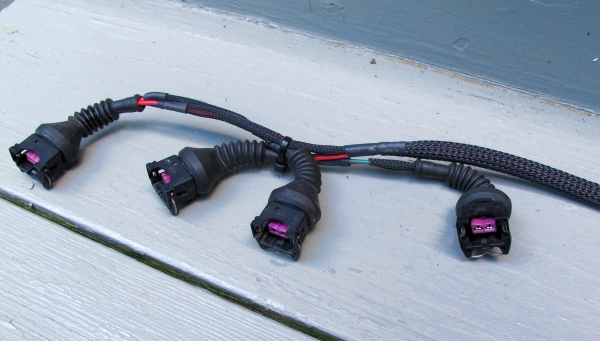
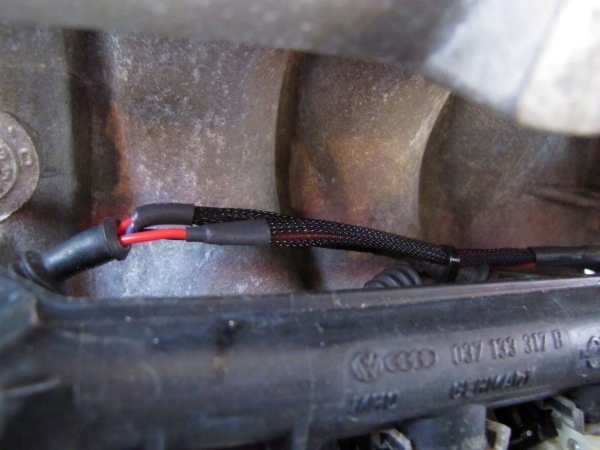
Here’s my old fuel rail wiring. I got the connectors from an early 90s Audi something or other.
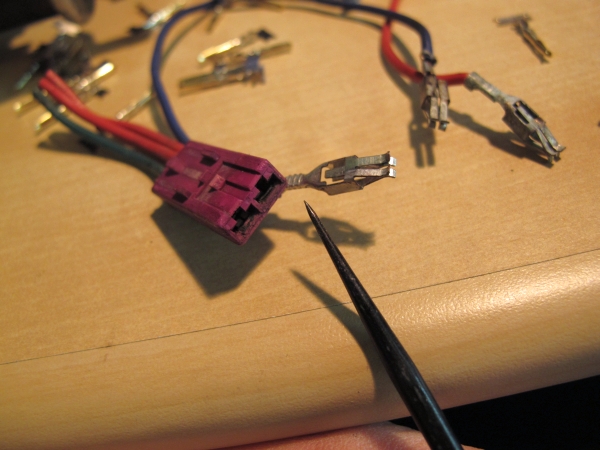
To get pins out of these, you just reach in with a sharp tool, and bend that tab down so you can pull it out from behind. This type of bosch connector has a purple removable inside. Most VWs do not have this type, but the fanch-schmancy Audis do! And you thought you were paying for just a badge.
New pin crimped on. I bough these from Jim, but I’m sure there are other sources online.
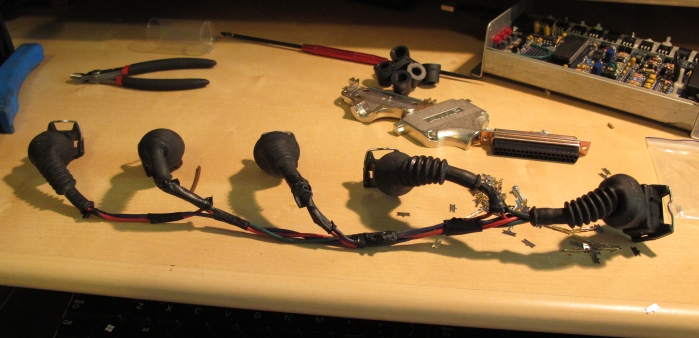
Here’s the fuel rail wiring all done.
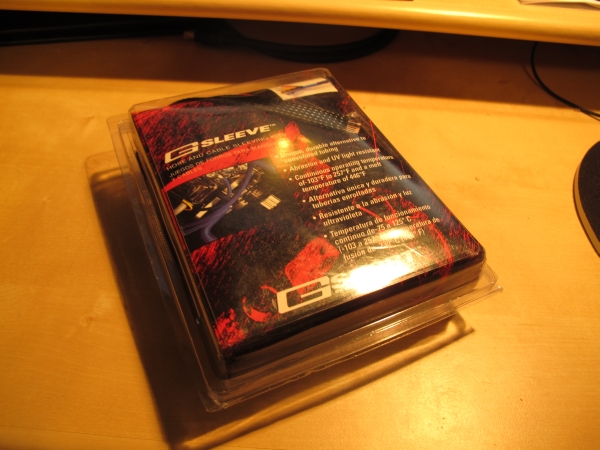
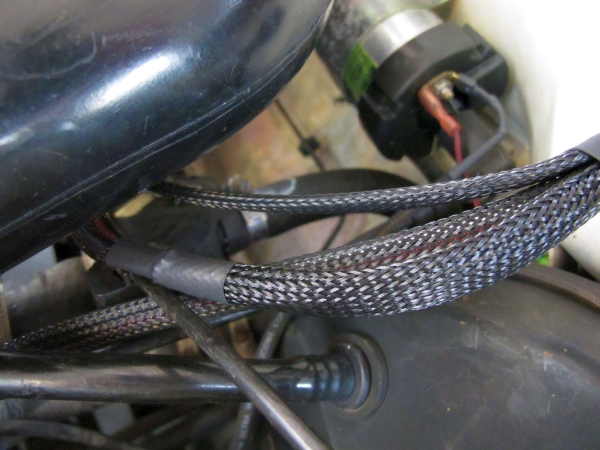
You may have noticed that cool loom there. Some people call it Techflex. But techflex is a brand name, like Xerox, it has become a generic descriptor for this type of product. The type I’m using is called G-SLEEVE! WOW! I think these are just laying about in warehouses from the street tuner era.
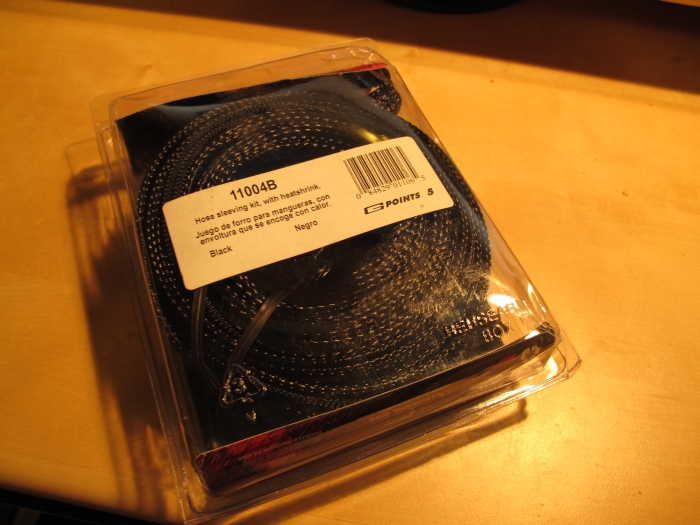
Anyway the part number is 11004B – it is made by Mr Gasket. You can order this from Advance Auto Parts if you give them the part number. It takes about 5 days because it is a direct factory order. 2023 note – this item was discontinued when I wrote this 13 years ago, so it’s no longer available.
It is very flexible. It can expand WAY bigger than it is to fit over things, connectors, crimps and such. It is permeable. It protects wires from abrasion. It keeps wires together and organized. AND IT LOOKS REALLY COOL!! So that’s why I did it with this.
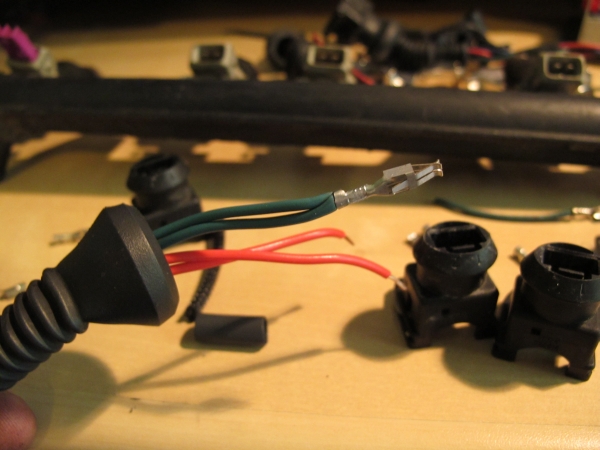
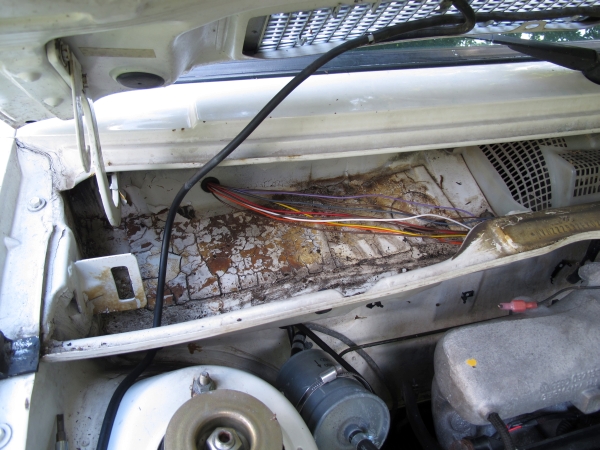
SO! We have a bunch of wires everywhere! ACK! Start in the engine bay. Use tape and electrical ties to make the wires go where they will lay. Feed the wires into the car’s interior and just let the excess go inside. Then slip on the wire looming and heat shrink to clean it up. After that, crimp or attach the sensors to the wire. When those are on, shrink the heat shrink.
My firewall hole is in the upper cowl. It’s hidden by the raintray, but VERY easy to access. DO NOT drill it too low or you’ll risk getting rainwater into your interior. By the way, you can do this hole on an A/C car too. There’s an inch of room behind the recirc duct. Drill from inside the car with the glovebox removed.
Here’s where the wiring goes into the bay, where the stock wiring did! I cut the stock grommet to make installation easy. When installed, I put the slit area facing down so you don’t see it.
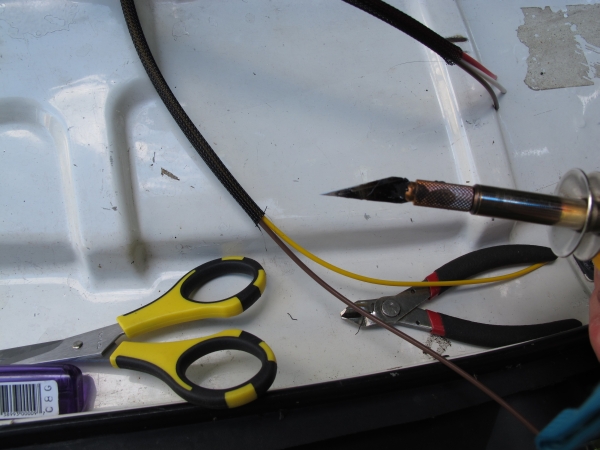
You can cut this stuff with siscors, but the best thing to do is to cut it with a heat knife, so it doesn’t fray all crazy and drive you mad while you are working with it.
Make bigger looms that small ones feed into
Getting bigger!
Now that the engine is all done, get inside the car! Start crimping and putting the pins into your connector.
You can make the wires quite a bit easier to work with if you hit them with a heat gun for a few seconds. This makes them more flexible.
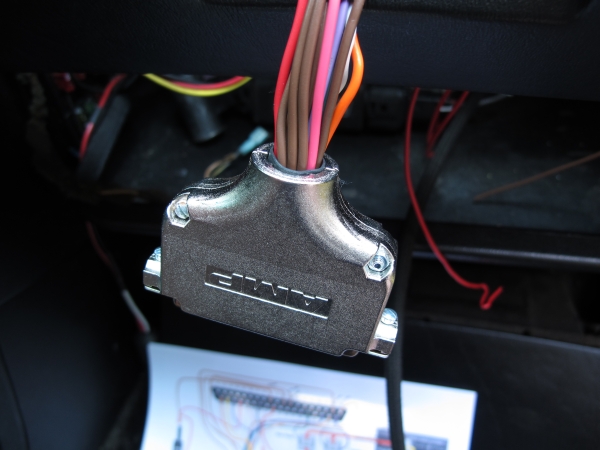
Put the connector shield’s grommet in like this, so it doesn’t fall out.
Put it together. Don’t forget to put the side screws in before you do this so you can screw it to the ECU!!
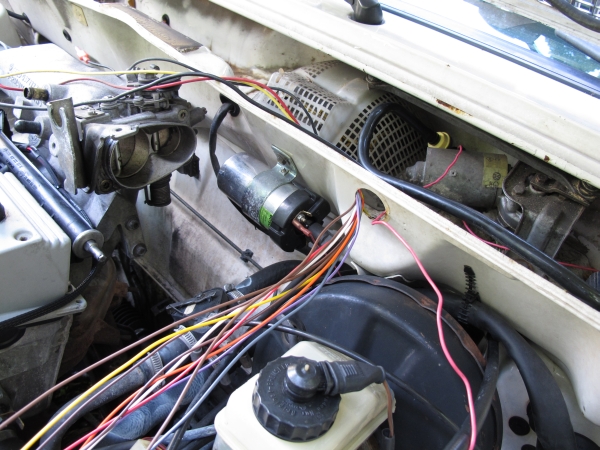
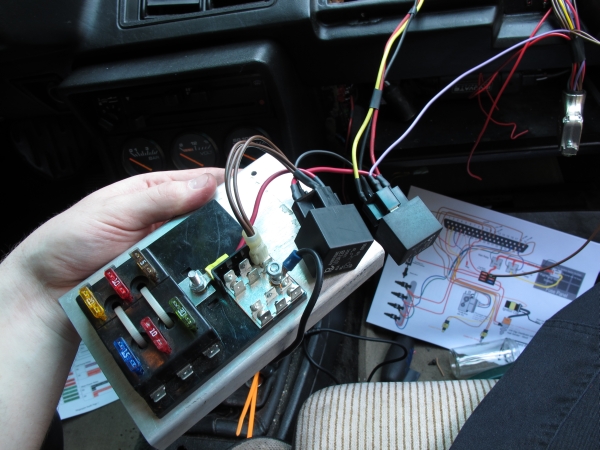
Instead of a relay board, I’m going direct. There is a VERY good reason for this. The relay board introduces MANY points of failure. Another DB connector, the terminal strip to the circuit board joints, and the terminal strip’s mechanical screw connections. The worst part is that the terminal strip on the relay board cannot handle the current that the VW fuel pump draws, so it melts.
I’m also using a small relay panel. You’ll find these all over eBay. It’s not really necessary, but I think it makes for an overall cleaner install since I have five things that need fuses.
Just look at that niftiness!
Hidden behind the fuel rail.
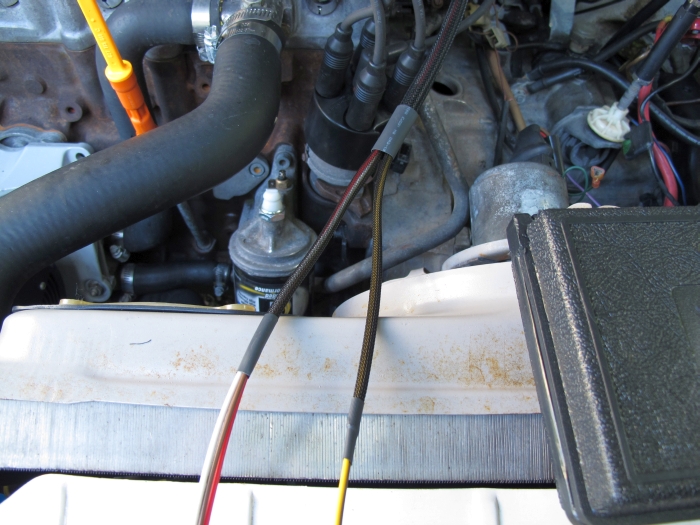
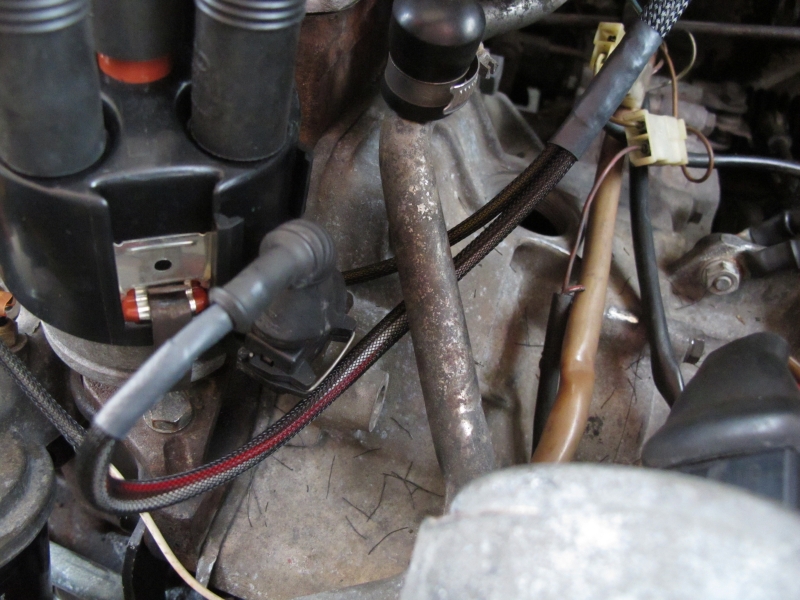
Loom going out. There’s also the wire going to the coil from the Megasquirt ECU in the background (black connector). The red/black wire with the red connector is the car’s factory RPM gauge wire that goes to the instrument cluster.
And it started right up the first try! Muahahahaah!
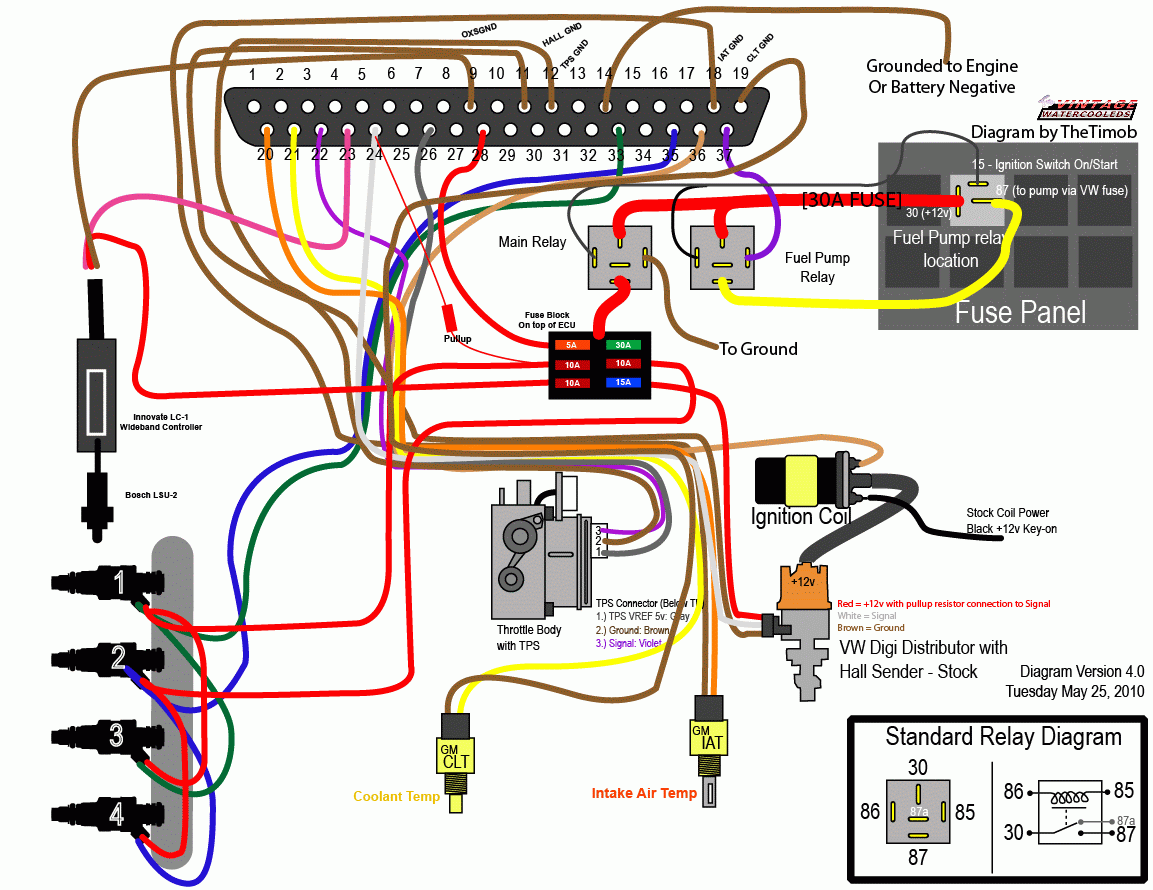
Here is my messy, but effective diagram that I used to wire my car. I know, it looks like a dang PILE of spaghetti!
The Key oddity to my wiring is that pullup resistor installed between the hall sender and a +12v wire. This can surely be installed on the Megasquirt board, but I’m not sure exactly how right now. The Megasquirt won’t detect RPM without it though. Pretty sure it is a 1k ohm 1/2 watt resistor.
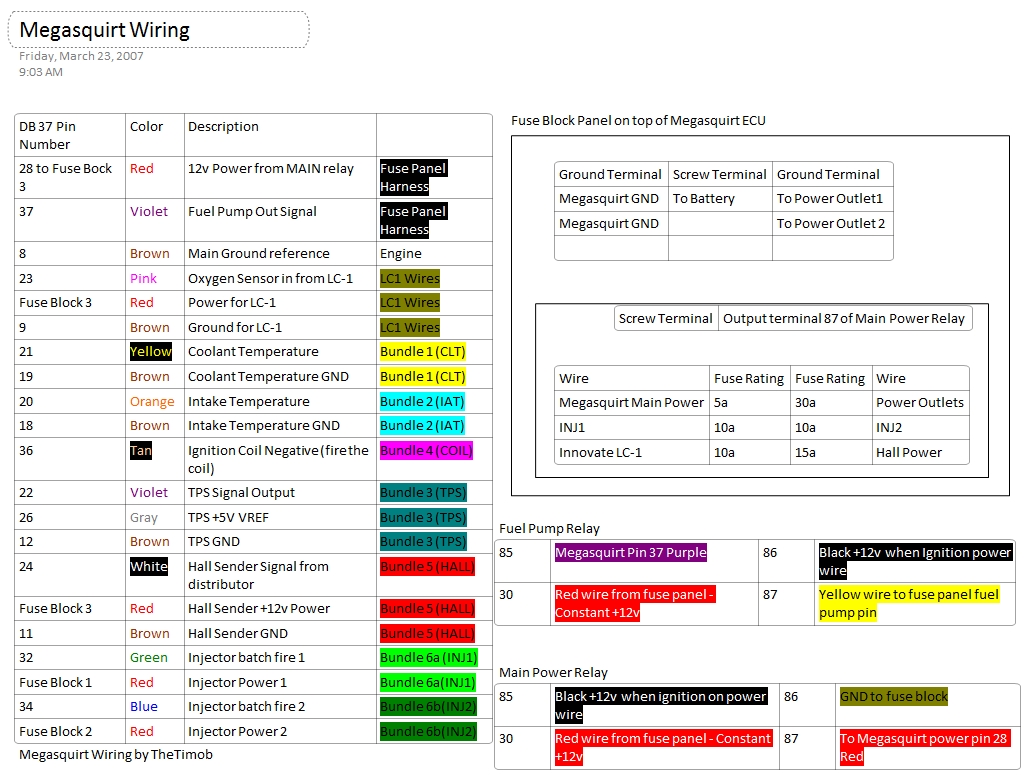
Looking at it from the standpoint of words might help. Here’s a chart showing my wiring connections
So, for some reason, there’s not much documentation on what this actually means!! Well- we discovered that this problem can create all kinds of hell if you don’t know much about it. Click this pic to enlarge for a full explanation… I’ll add more to this VERY soon.
This technote will be all about the Megasquirt relay board. I have just ordered one, and I will install it after the MD/PA Megasquirt Tech weekend GTG.
This technote specializes in exactly how to configure the megasquirt to read the hall sender in a VW distributor and then fire the coil. This applies to the V3 PCB and Processors Megasquirt I and Megasquirt II.
VW never sent the 16v over to the US with an electronic fuel injection system, so converting it to EFI is just a bit more involved. No Junkyard parts for this!
Oxygen sensors help the computer make corrections in the car’s air/fuel ratio by measuring the oxygen content in the exhaust. Oxygen in the exhaust is a good measure of the efficiency of the combustion.
ATS Technotes + Timbo's Technotes. An archive of tech procedures for fixing early watercooled VWs from 1975-1992 with a focus on the VW Scirocco Mk1 and Mk2.


